Switching from ArrowOS to Xiaomi EU custom ROM on my Poco X3 NFC
After I bought my Xiaomi POCO X3 NFC last year, I flashed the latest ArrowOS. I wanted a clean android with more control and an open source, and ArrowOS delivered that. However, after one year of using ArrowOS, I noticed some strange behavior. My network usage went up almost exponentially without me changing my behavior or the settings. The statistics showed that “System Updates” was constantly downloading data in the background for no apparent reason and I couldn’t get it to stop, so eventually, I decided the best way to handle this was to reinstall the entire OS. A friend recommended to flashing Xiaomi.EU, and so I did. As there is a lot of information out there on how to flash your android phone and some of it is very confusing (at least I felt that way). I decided to share my experience/documentation on the matter. Here’s a quick summary of the most important things (if you’re in a hurry read this to make sure you’re in the right place and then jump to the command summary below, but don’t forget step 4.):
| Phone | Xiaomi POCO X3 NFC Global 2021 (surya) |
| OS | From ArrowOS to Xiaomi.EU |
| Recovery | Custom TWRP to custom TWRP |
IMPORTANT: The actions described on this page may irreversibly damage your device and render it unusable! Proceed at your own risk!
I went with a very clean install and also used to chance to switch to a different build of TWRP, so we’ll start with that.
Please note that this guide assumes your device is already unlocked and developer mode, as well as USB debugging is enabled. Further, you’ll need Android Debug Bridge (ADB). The website for unlocking your Xiaomi device can be found here and a guide on how to install ADB here.
- I used the TWRP custom recovery by birgudav from XDA which you can download here. See also the XDA forum post here.
When downloading images you can make sure they’re actually the ones you wanted by comparing their hash codes. You can do this in PowerShell with the following commands:
Get-FileHash <filepath> -Algorithm MD5
"<filehash>" -eq "<filehash>"
-
Once downloaded you should rename it to
twrp.imgand move it into the ADB folder. With a terminal from there and your phone connected via USB you should execute./adb devicesto see if your device is recognized. -
Now flash the custom recovery with the following set of ADB commands. Once your device reboots you should see the TWRP screen. You can also enter the recovery mode manually by pressing the power and volume up button during boot. And there is also a very good guide on how to install TWRP on XDA.
./adb reboot bootloader
./fastboot flash recovery twrp.img
./adb reboot recovery
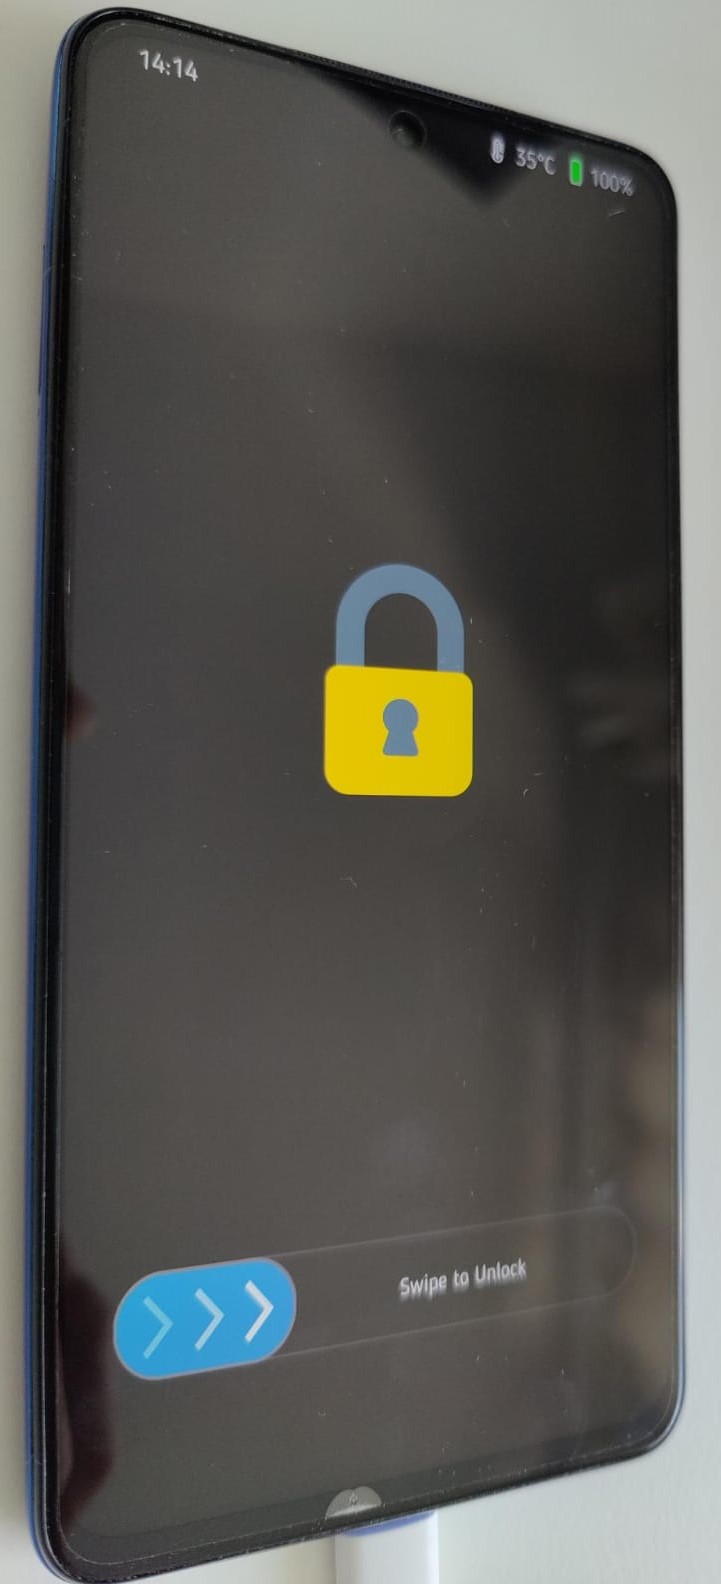
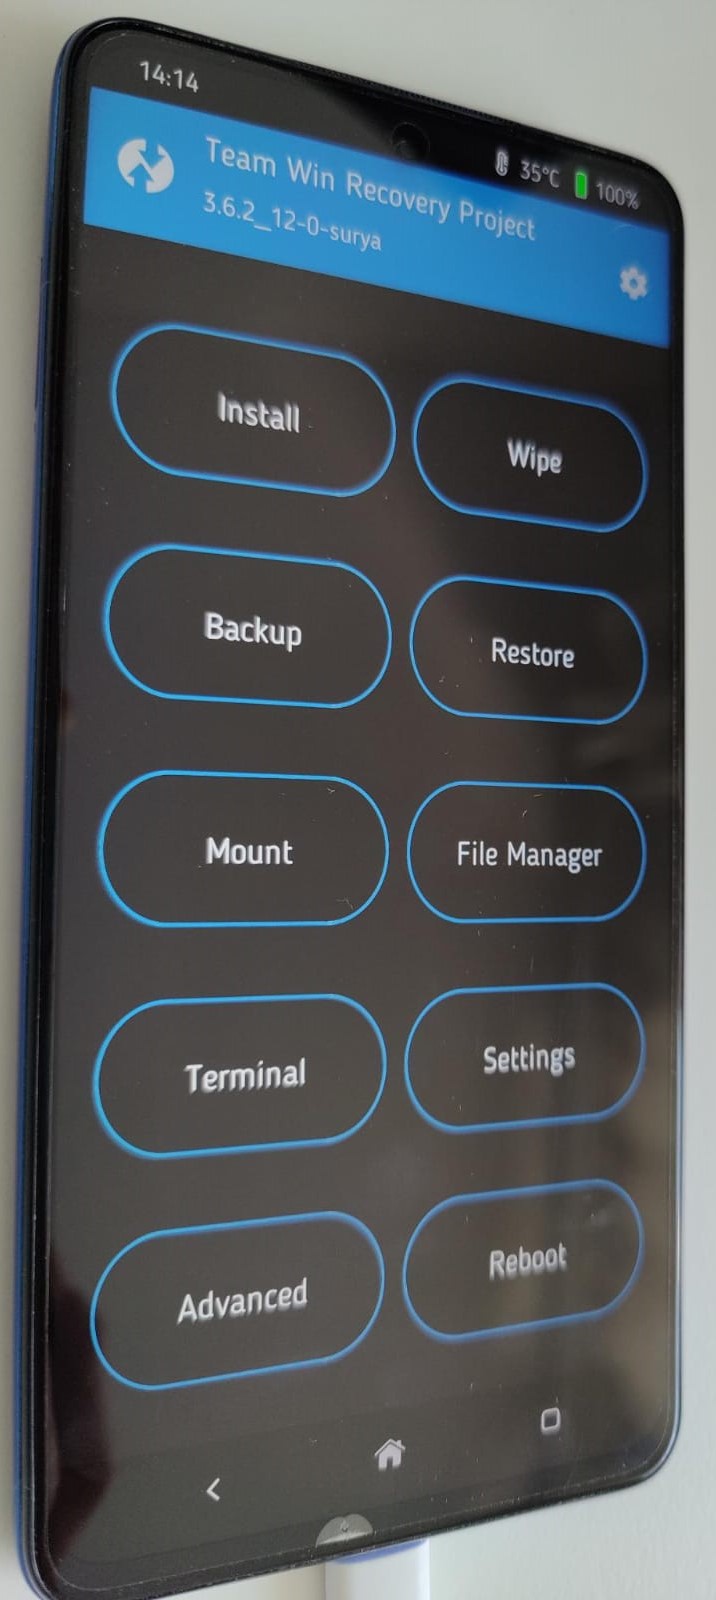
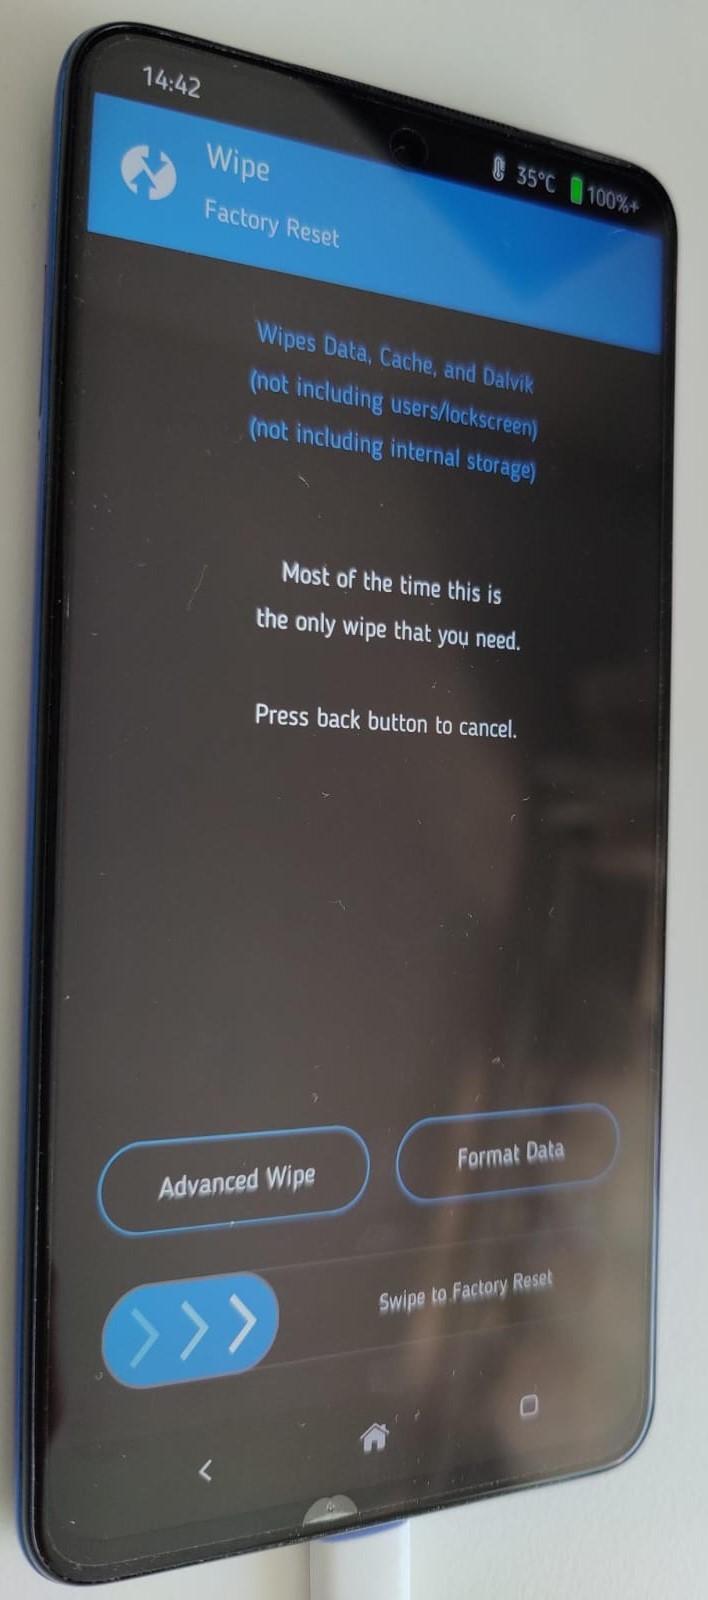
- Before you proceed you need to wipe your device by clicking “Wipe” inside recovery mode. Then swipe to the right to confirm (no need to change any parameters). After that, I also choose to format all the data by going into “Wipe” again, after a reboot to recovery, and clicking on “Format data” and confirming.
-
Download the custom Android ZIP file from Xiaomi.EU. In my case, I went with the latest stable version MIUI 13 with Android 12, which can be found here. And the official post in the Xiaomi.EU forum with further information here.
-
Copy the ZIP file to your device using
./adb push <filepath> /sdcard/<filename>(this didn’t work for me so another option is to copy the file manually via drag and drop in the file explorer). -
Switch to your device and inside recovery mode click on “Install” then select the ZIP file you just copied and confirm the installation (no need to change any parameters).
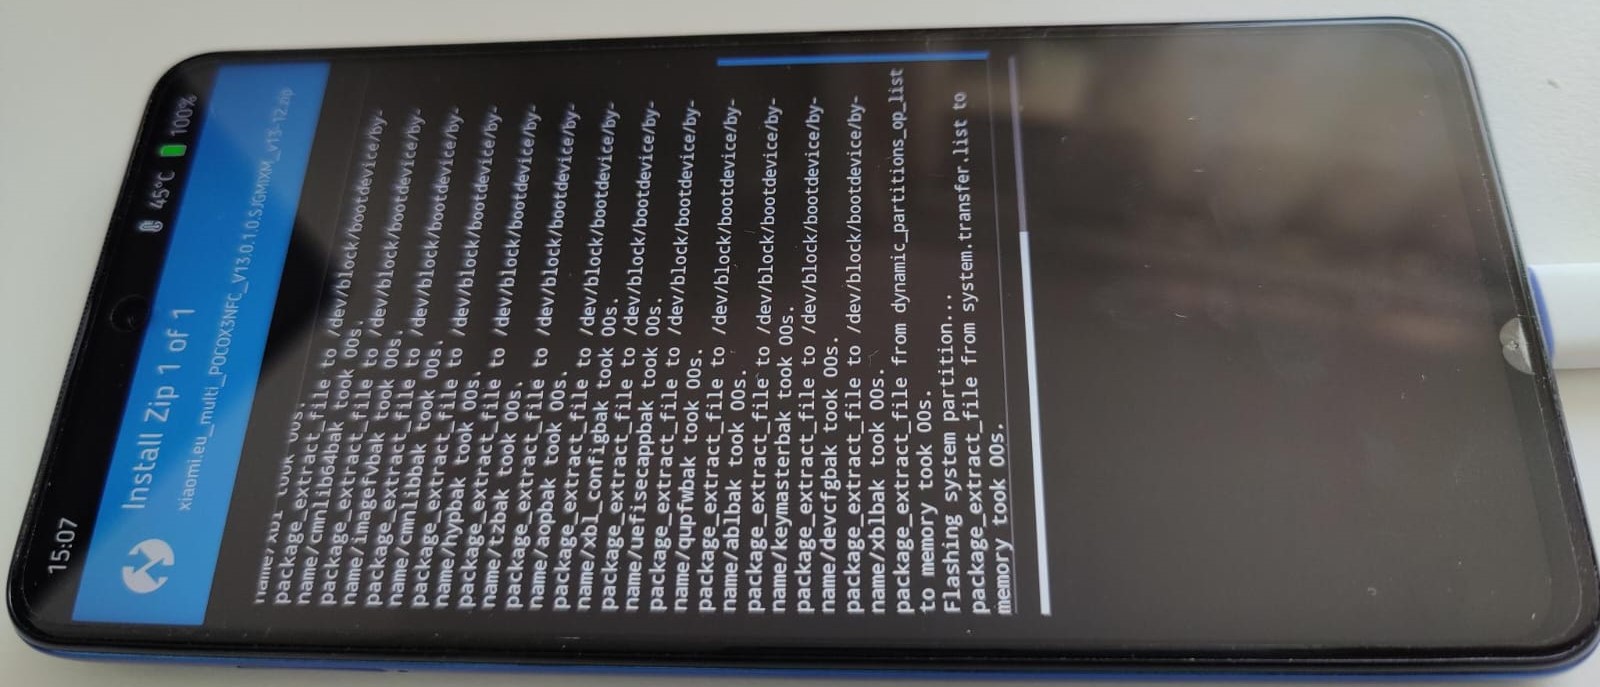
- Reboot your device after the installation ended successfully. The first boot may take a long time, for me it was around 10 minutes, so be patient.
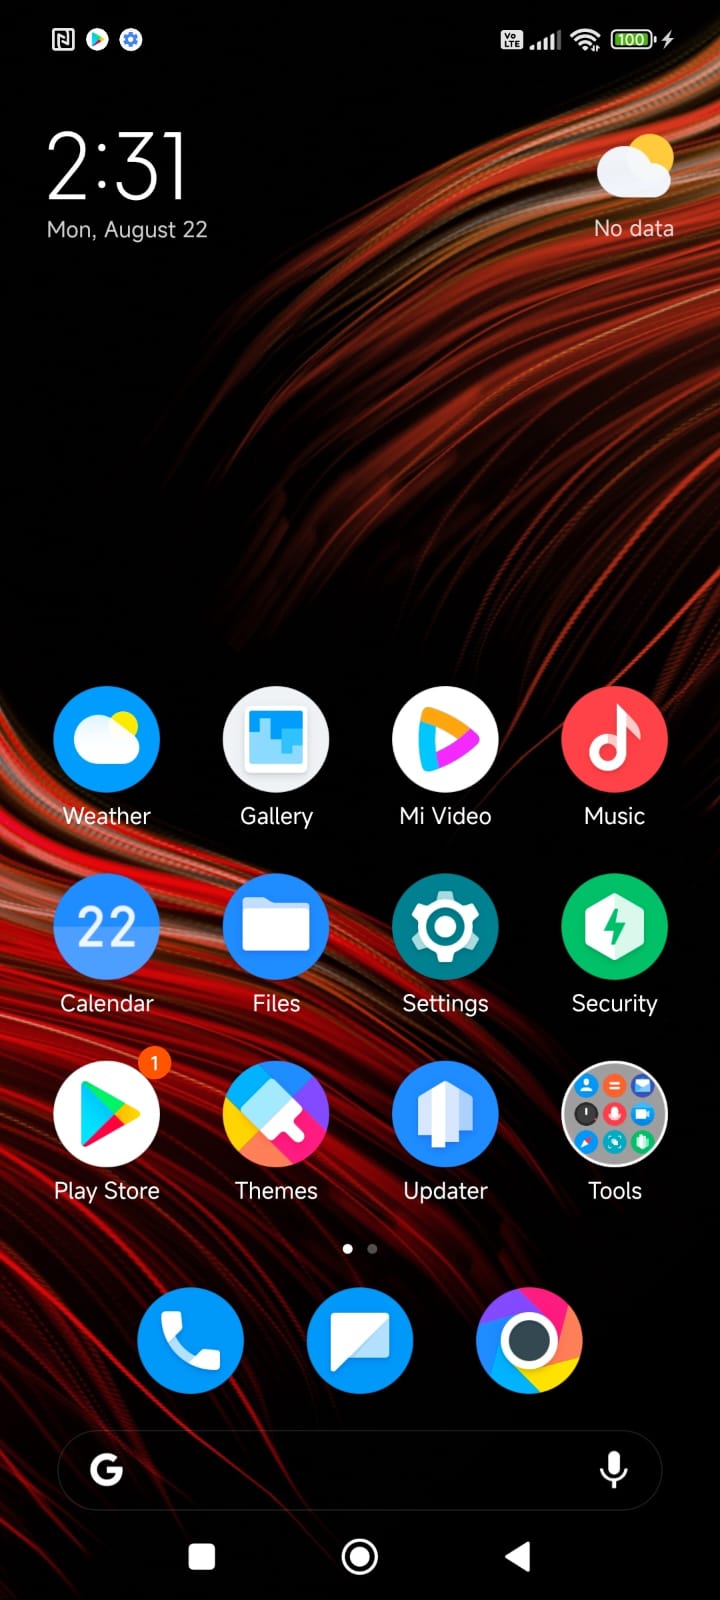
Now all that’s left is to configure the newly installed OS to your liking - have fun!
Command summary (the quick guide):
# List connected devices
./adb devices

# Check whether your device has a/b partitioning or just a
./adb shell getprop ro.build.ab_update
./adb shell getprop # List all device properties

# Install custom recovery
./adb reboot bootloader
./fastboot flash recovery twrp.img
./adb reboot recovery

# Get and compare file hash
Get-FileHash <filepath> -Algorithm MD5
"<filehash>" -eq "<filehash>"

# Copy files to device
./adb push <filepath> /sdcard/<filename>

# Reboot system
./fastboot reboot